Using Case Notes
Last updated: August 6, 2026
In this article: How to record the request details and your team's working notes on a case, all in one place using the Notes panel.
Every case has a Notes panel where the original request description and your team's notes live together, so everything you need for a case stays in one place.
Opening Case Notes
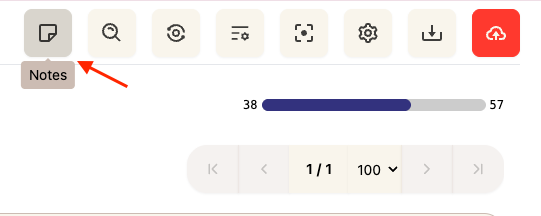
You'll find case notes in the Notes panel, which you open from the top toolbar.
Adding the request description
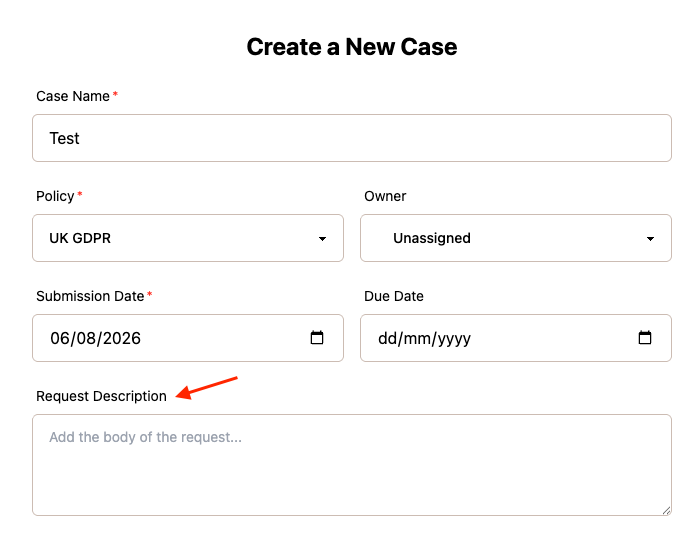
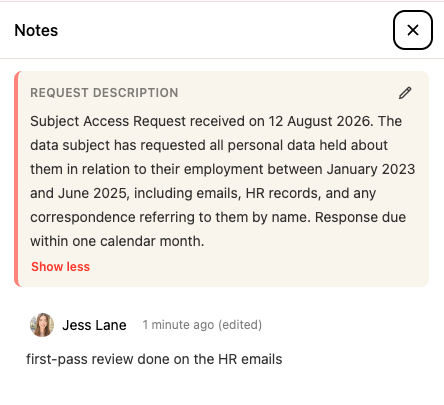
The Request Description is where you record the body of the request. It sits at the top of the Notes panel. You can add it in two places:
When you create the case
Enter the request in the Request Description field → How to Create a New Case
On an existing case
Open Case Settings
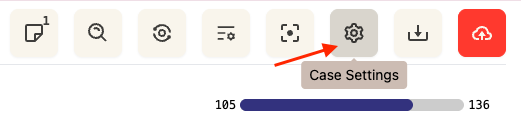
Scroll down to Case Context, and enter the body of the request here
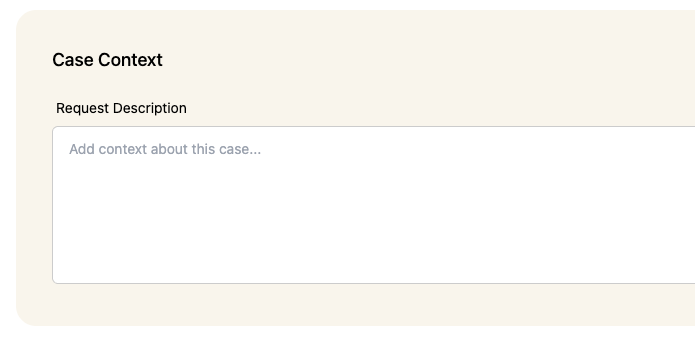
Select Update. Once set, the request description appears at the top of the Notes panel for every document in the case.
Adding team notes
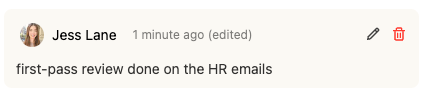
Underneath the request description, you and your team can add your own notes as you work through the case — decisions made, points to check, or context for team members.
Open the Notes panel from the document viewer.
Below the request description, add your note.
Editing the request description or a note
To make changes, use the pencil or delete icon in the Notes panel.